

What is Ads.txt File?
The “Ads.txt” is simply a text file that can be placed on your blog's server and carries information about the advertising networks used by the blog's owner and the owner authorised these ads networks to show ads on the website. The main idea behind using this ads.txt file is to protect publishers from frauds and viruses as you will only authorise those ads network to display ads on your website which you're aware of and hence any malware script that showing ads on your blog without your permission from any unknown sources, cannot perform the task it ought to do.
Advantages of Using Ads.txt:
Obviously, it is future. The technology is growing day by day. Advertisers looking for exposure on your site won’t be tricked into buying misrepresented inventory and you retain control over pricing. So, let's start rolling your fingers on how you can add an ads.txt file in your Blogger BlogSpot blog.
Steps to Add Custom Ads.txt file in Blogger?
You just need to follow step by step guide to add a custom ads.txt file in your blogger blog.
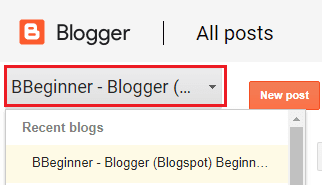
- Login to Blogger Dashboard and Select the Desired blog you want to add an ads.txt file.
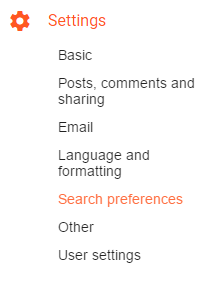
- Click on Settings Tab and then Search Preferences.
- Under the Monetisation heading, you will see an option to Edit custom ads.txt. (Check screenshot)

- Click on Edit and then Select Yes to Enable custom ads.txt content.
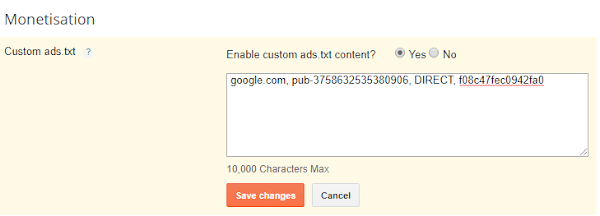
- You will shown-up a text box and you have to enter your desired ads.txt file. There are many ads networks and they have a different identity for ads.txt.
- If you are using only Google Adsense as your monetising partner, then use the below Ads.txt file.
- Replace, pub-xxxxxxxxxx with your Adsense publisher ID.
- Also, if you're selling Adsense ads space on your blog, means you're using some other person's Adsense on your blog then you need to replace DIRECT with RESELLER to authenticate yourself as a reseller of the particular Adsense publisher ID, like:
- Once you're done! Click on Save changes.
- That's it your ads.txt file is now live on your blog. You can check your ads.txt file by going to www.bbeginner.com/ads.txt.

0 Comments